An Angel in the Kitchen is a real food and family recipe blog.
A place to be able to find our recipes again & remember how we made stuff!

Wednesday, June 29, 2011

PASTA

Pasta is a delicious and inexpensive food, and making your own is a simple and enjoyable process that with a vast array of accompanying sauces will provide an ever changing variety to your menu and your diet. Beginning with just three ingredients - flour, eggs, and oil to make a simple dough, it can be an easy meal for one, a hands on evening of fun for the whole family, and will thoroughly impress guests of any age. 

Having made our own pasta for some years now, I have devised a fairly reliable ratio of about 90 grams of flour to one good organic free-range egg and one teaspoon of olive oil - per person. You'll also need extra flour for dusting both when kneading your dough and when rolling out your pasta. Using good quality eggs makes the best pasta and also gives it a lovely rich colour. As I'm most often cooking for just two I would make a dough of 4 eggs, roughly 360 grams of fine 'tipo 00' pasta flour, and about 4 teaspoons of oil. This way I have enough for two meals as the dough keeps very well in the fridge for three or four days and is then ready to roll out into which ever shape you want next time around.


Simply begin by sifting your flour into a bowl and make a well in the middle. Crack your eggs into the center along with your olive oil.


Using a fork gradually whisk the wet into the dry until it forms a rough dough. Turn this out onto a floured bench and get stuck into it with your hands and fists, kneading well for about five minutes and dusting with extra flour until it's no longer sticky but beautifully soft and elastic.


Now wrap your dough in a plastic bag and place into the fridge for at least an hour. Refrigerating the dough allows it to rest and reduces the amount it will retract when it comes to rolling.


Normally while the dough is resting is when I'll prepare the ingredients and concoct the sauce that will adorn our resulting pasta. Once your sauce is cooking take the dough from the fridge and cut into two pieces, possibly three if you've made a larger batch, and return any unneeded dough to the fridge. Again dust your bench with flour and using a rolling pin begin rolling your dough out into a large oval-ish rectangular shape. Shift your sheet of pasta around as you roll to keep it an even thickness, occasionally turning it over and keep it reasonably well floured. 


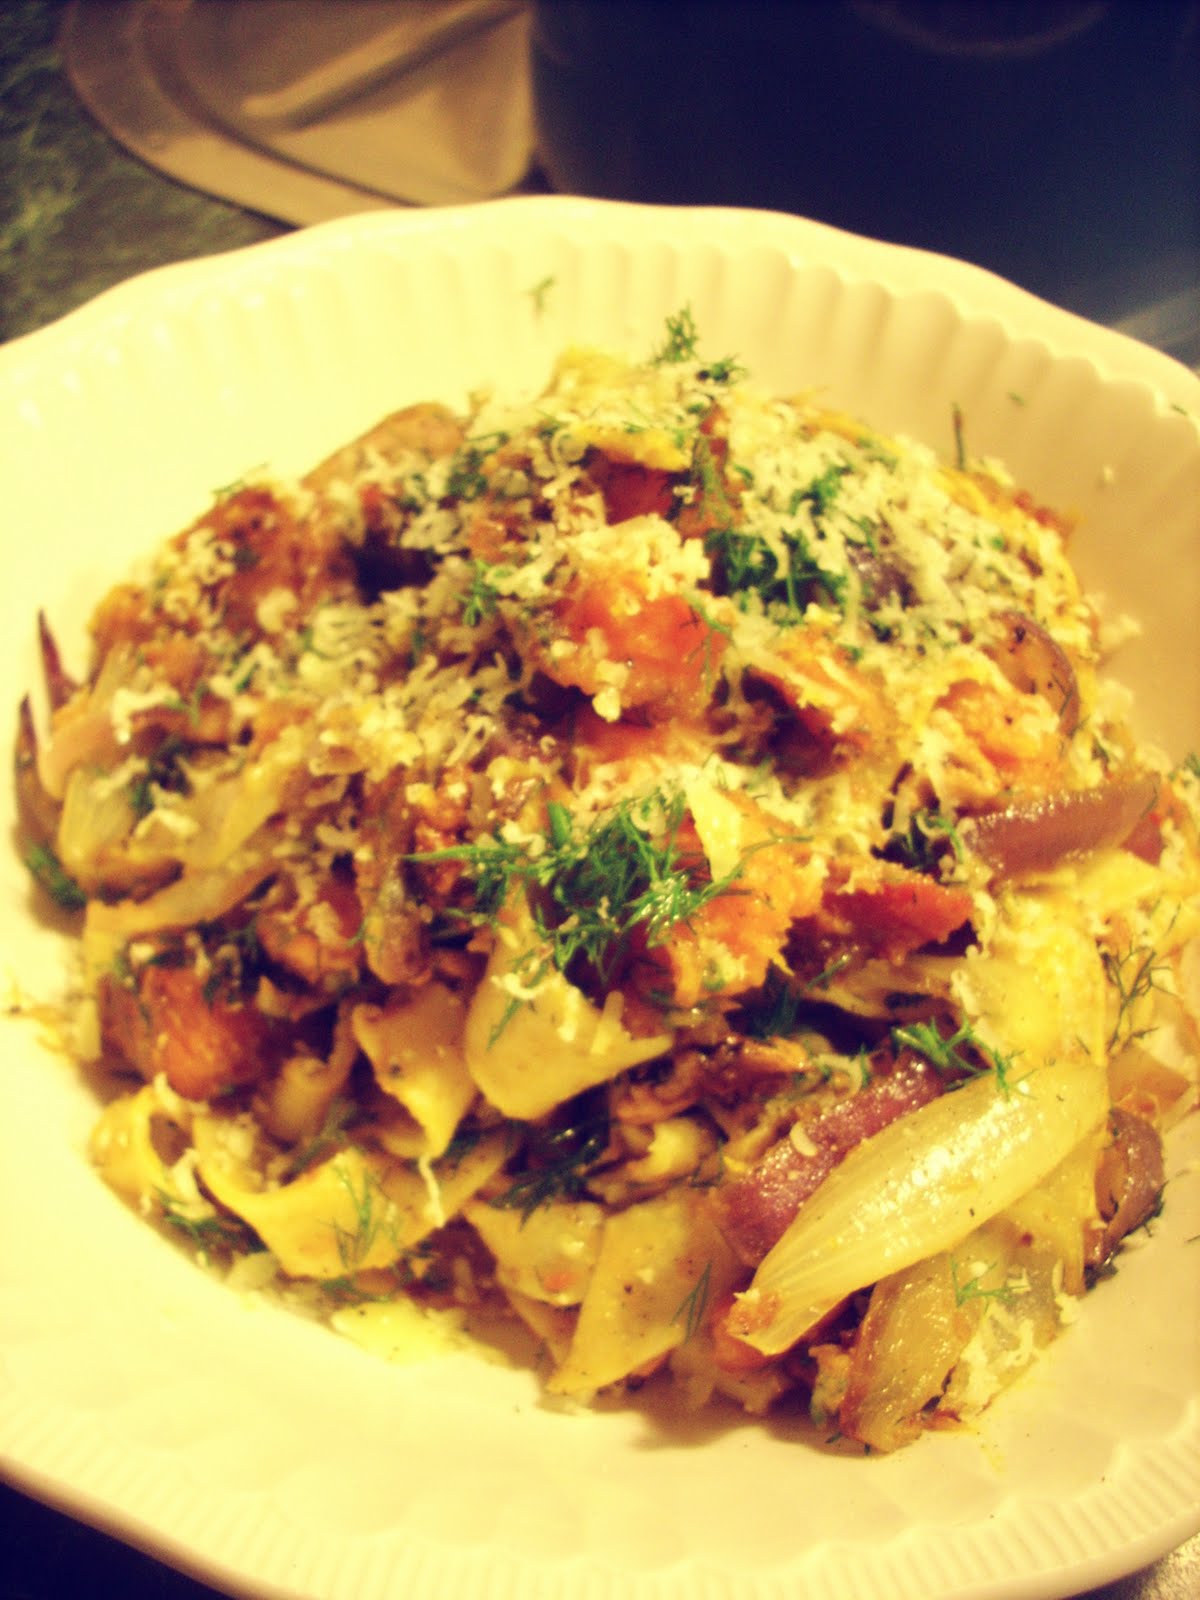
Once your sheet is roughly an even 2mm thick all over your ready to cut your pasta. There are many shapes you can experiment with from a thin spaghetti to using whole sheets for a lasagna, or little pockets filled with flavours such as a ravioli or tortellini. But I don't think you can beat a decent fettuccine or better still a wide ribbon pappardelle. If you have a pasta machine this can aid the whole rolling and cutting process, but I quite enjoy doing the process by hand and it's no more time consuming. 
To cut any size ribbon by hand take your lightly flour dusted sheet and loosely roll it up. Decide on the thickness you want and cut with a sharp knife, being careful not to squash.


Unroll each piece and place into a tidy pile of strips. Your now ready to cook. 


Unlike dry pasta that takes about 10 or 12 minutes to cook, into a pot of boiling water as salty as the Mediterranean ocean this fresh pasta will only take two to three minutes. So once your water is boiling and your sauce is ready to serve, bring whoever is eating to the kitchen, as pasta doesn't wait for people, people wait for pasta! 


Gently place your pasta into the boiling water and quickly place the lid back on to bring it back to a flowing boil. Once your pasta is Al dente, which won't take long so keep a keen eye on it, toss through your sauce, serve with a drizzle of good olive oil and a sprinkling of sea salt. 


Bon Appetito. 


Katie's Kindred Cook, Matt.

Sunday, May 15, 2011

Using Guavas: Jelly and Paste

Guava Jelly
If you are fortunate enough to have a guava tree in your garden then you will no doubt, have more fruit than you can eat or know what to do with so gather them up & pop them in a pot & make some guava jelly..the most divine jelly you have ever tasted, truly!
Sort through your gathered fruit discarding any guavas that are going off.
Give them a bit of a rinse off, pop them in to a pot & just cover with water.

Bring them to the boil & simmer for 10 minutes or until tender.

Tip into a sieve & let all the juices drip through.
(My grandmother used to hang the fruit in muslin over the bath in order to get every last drip of juice)
Return the juice to the (heavy bottomed pot) measuring as you do so that you then add 1/2 to 3/4 cup of sugar to every cup of juice.
Jellies are best made in small batches anyway.
Put this mix back on the stove & stir to dissolve the sugar.
Some recipes suggest that you add some lemon juice to the mixture..up to you.
Bring to the boil & cook for 10/20 minutes or until when you put a little jelly on to a cold saucer & wait a minute or so a wrinkly skin forms in the top of the jelly (rather than it justs runs off the saucer).
While the jelly is cooking sort out your nicest jars, give them a good wash in hot soapy water, rinse & pop them in to the oven on a medium oven for 20 minutes to sterilize them.
At the setting point carefully pour the hot jelly in to your jars.
Seal with a jam seal & rubberband.
 Make a pretty label if you like. Utterly heaven on a spoon.
Now, rather than throw all that fruit in to the compost have a go at making some paste..it's worth it.

Guava Paste
Before you go to all the trouble of washing the pot out push the guavas through a sieve with a wooden spoon until you just have seeds left & you're sick of the process.


Once again add 1/2 to 3/4 cup of sugar to each cup of fruit pulp.
 Now the paste takes a good deal longer than the jelly. Put on a really low heat & keep stirring every now again for the period of several hours until it starts to really thicken up & begins to come a way from the sides of the pot.
Pour in to oiled moulds or spread on to greased proof paper & leave lightly covered to firm up for a day or two.
Serve with cheese & fruit & oat biscuits or crackers if you like.. so yummy!!!
This pic via the New Zealand Gardener magazine April 2011
The same process applies to making almost any jelly or fruit paste. I have just made quince paste & feijoa which is also delicious!
Katie 

Sunday, April 24, 2011

Carrot Cake

A good rich, full and fruity carrot cake is probably the cake you simply can't beat. Top it off with a lemon and cream cheese icing and you have a winner; the ultimate birthday cake. Having made one for every birthday in the last few years and making a few adjustments over time to Alison Holsts' recipe I began with, I think it's finally about perfect.


3 eggs
3/4 cup oil
2 cups raw sugar
2 teaspoons vanilla
1/2 teaspoon salt
2 & 1/2 cups grated carrot
1/2 cup crushed pineapple (juice drained, but needed)
1/2 cup coconut
1/2 cup sultanas
1/2 cup walnuts
2 cups wholemeal flour
2 teaspoons baking soda
2 teaspoons backing powder
2 teaspoons cinnamon
1/4 cup apple juice + the 1/4 cup pineapple juice

In a large bowl beat together your eggs, oil, vanilla, sugar and salt. Fold into this the grated carrot, pineapple, sultanas, walnuts and coconut.


 Sift together the flour, baking soda, baking powder and cinnamon, and carefully fold into the mixture, adding the fruit juice as you do. Note that the mixture may seem overly wet, but don't worry it's meant to be like that.


Now, with the mixture the consistency it is I find it really helpful to properly line the cake tin with baking paper, and preferably with a high top to allow for some rising. Taking the time to line your tin properly makes the baking, and removal of your cake from the tin really easy, tidy and hassle free.


Pour the mixture into your lined tin and pop her into a preheated oven at 180 C. Bake for approximately an hour, but it may possibly need a little longer - at least until a skewer comes out clean. Your cake may look quite dark when it's ready, but as it's so dense and full of goodness it needs a wee bit of cooking. Allow to cool partially in the tin before removing, the paper lining will be of help here. Peel off the lining when the cake is just warm, and wait until it's cold before you ice it with a cream cheese icing.


So, Happy Birthday... or at least just pretend
Enjoy. Katies Kindred Cook - Matt.
I have just made this cake for the next special birthday & it was just fabulous as usual. I put more fruit than the above & didn't reduce the sugar...doesn't always work very well that one. We served the cake with a thick & creamy Greek yoghurt rather than icing but if you want to ice your masterpiece as above.
Cream 2 tbsps softened cream cheese & 1 tbsp butter together.
Beat in 1 1/2 cps of icing sugar
Stir in the finely grated rind of a lemon if you like, or 1 tsp vanilla.
Lemon cuts the sweetness quite a bit. Cool cake well before icing.
Plain is just great, but you might also like to sprinkle over the top a mixture of diced dried apricots, sunflower & pumpkin seeds & shredded coconut. (picture next cake made)

A really interesting note: I followed the recipe above this time round & ended up with a much lighter cake than usual. Matt's technique works really well mixing the eggs, oil & sugar all together at the start. 
Have fun tweeking this recipe to suit yourself.
One more wee note...the flour we use here is a whole wheat flour not baking bran or oat bran. Personally, I use a 7 grain wholegrain organic flour but ordinary wholemeal is fine. Ask at your local organics shop.
Much love Katie x

Tuesday, March 22, 2011

Sultana Bran Loaf

When Rob & I both emerged from a recent Church fair clutching a sultana bran loaf I decided that it was time to sort out the recipe!
Best I could find was Jo Seagar's version:
2 cups bran
2 cups trim milk } leave to stand for 10 mins before adding the flour
2 cups sultanas
2 cups sugar
2 cups self raising flour
Pre heat oven to 150 C
Bake in a greased loaf tin for 1 1/2 hours
~~~~~~~~~
Very nice, very easy but a bit sweet for me.
I also like to make baking as wholesome as possible so here is our version:
2 cups biogro (organic bran)
2 cups sultanas..& a bit more ; )
2 cups milk (or 1 cup Earl Grey tea & 1 cup milk)
1/2-1 cup organic raw sugar
1 tsp of cinnamon or ginger, if you like.
1 large tbsp of either golden syrup, molasses or date molasses.
2 cups of organic whole grain flour (I like 7 grain zentrofen) + 4 tsps of baking powder.
Pour Earl Grey tea or the milk over the bran & sultanas & leave to soak overnight or for around an hour.
Then: mix all together gently & briefly.
Greased loaf tin. 150 C 60-90 minutes or until cooked.


Katie

Monday, February 7, 2011

Peach Chutney

This is my version of peach chutney as of last Saturday!
Peel & dice a good dozen golden peaches & 2 apples ( I was given some cooking apples)
juice of 2 lemons
Add a rounded cup of organic raw sugar
2 tsps of good salt
2 cups of raisins..I used some golden raisins & some mixed giant ones
1 dsp ground ginger
1 tsp cinnamon
1 tsp garam marsala
1 glove or two if garlic, chopped & a finely chopped fresh chilli. (I like to use Jalapenos)
garlic & chilli are optional of course
I also added a piece of finely grated tumeric..gives a gorgeous colour & depth of flavour.
When fresh tumeric is unavailable I use a peeled frozen version that is always in stock at the Asian shop in Queen Street here in Hastings. Powdered tumeric is ok but gives an entirely different result.
 Simmer fruit altogether for an hour or so until thickened a lovely rich colour.
Check the seasoning & adjust to your own taste. I have not used any vinegar at all in this batch & the flavour is so much more rounded & delicious.
 Pour in to clean, hot, sterilized jars. Seal when cold.
 Delicious!

Peach Chutney ll

A dozen or so peaches &
2 or 3 tart apples peeled & diced
1 red jalapeno chilli finely chopped
2 cups of golden raisins
juice of 2 lemons
1 tbsp yellow mustard seed
1 dsp grated fresh/frozen tumeric
1 cup organic raw sugar
1 dsp good salt
simmer gently for about an hour until thickened
pour in to jars as above
This is quite delicious & very different.


Sunday, January 30, 2011

Turkish Orange Cake

 I just adore this cake. It is wonderfully easy to make, very moist & so full of flavour.
I made it yesterday for my birthday (it's all gone!)
Ingredients:
* 2 large oranges (or an orange & a lemon)
* 6 eggs
* 1 cup castor or raw sugar
* 2 tbsps lemon juice
* 3 cups ground almonds
* 1 tsp baking powder

Simmer 1 large orange & 1 large lemon in water for about an hour with the lid on, then tip away the water & leave to cool for several hours or overnight (you can use two oranges if you'd rather but I particularly like this combination)
Put 1 cup organic raw sugar in to the food process & blend for 60 secs to make it castor sugar.
Add the chopped citrus (remove any pips before adding) process until finely pulverized.
Add 6 eggs & 2 tbsps of lemon juice, process for about a minute, until thick & fairly smooth.
Add 3 cups of ground almonds & 1 tsp of baking powder & pulse to just mix.
Pour in to a well greased & lined 23cm cake tin.
Bake at 150 degrees C for 60 mins or until golden & a skewer comes out clean.
Stand in the tin for 10 mins before turning out & cooling on a wire rack.
When cool serve with cream, Greek yoghurt or this mixture:
250ml whipped cream, 1/2 kg thick Greek yoghurt, 1 tbsp runny honey & 2 large tbsps of orange marmalade.
 Fold together & chill.
And another time


Delicious!
Catherine